I love Bake Sales – all of the yummy homemade goodness that is full of delicious sweets. I recently participated in a Bake Sale at work and wanted to share a few of the goods that I whipped up.
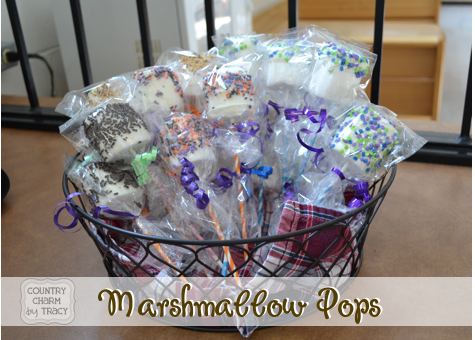
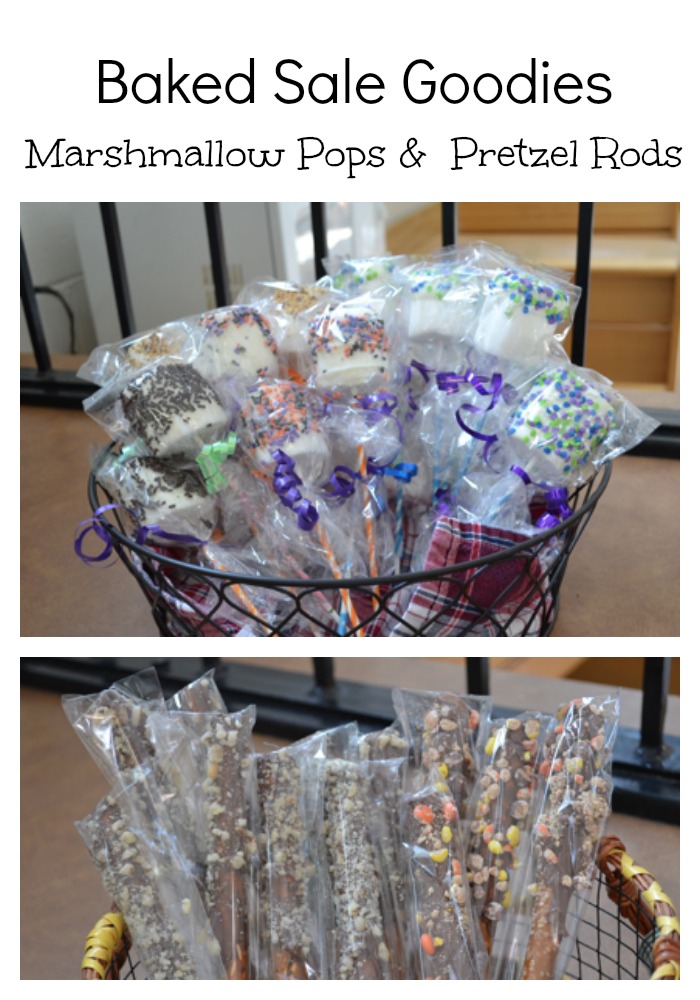
Marshmallow Pops
These are fairly simple to create and oh so good. I found these extra large marshmallows at the grocery store called Campfire Marshmallows (giant roasters). They are huge. I slathered them with almond bark and put on sprinkles while the bark was wet. To set I placed each one in a glass (I got three good pops to a glass) and placed in my freezer for a good 10 minutes. They hardened quickly and can be packaged up so cute. These are a great hit for the kids (and adults too).
Here is what the giant roasters look like….
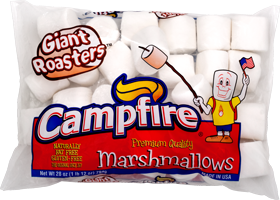
- Campfire marshmallows (Giant Roasters)
- almond bark coating
- lollipop sticks (8 inch)
- sprinkles
- glass or holder to hold up your marshmallows while drying.
- treat bags
- curling ribbon for tying
- Take one large marshmallow and insert lollipop stick in.
- Melt almond bark according to package directions. I used the Wilton short candy dippers (see those here)
- I dipped the marshmallow in the melted almond bark and then used a spreader (or knife) to spread it around the marshmallow.
- Using 2 paper plates I quickly put the sprinkles on the marshmallow using one paper plate to capture the excess sprinkles and then alternate to the other plate. This helps in distributing the sprinkles and avoids getting them all over your work space.
- To set I placed each one in a glass (I got three good pops to a glass) and placed in my freezer for a good 10 minutes. They hardened quickly and can be packaged up so cute.
- These are a great hit for the kids (and adults too).
 ——————–
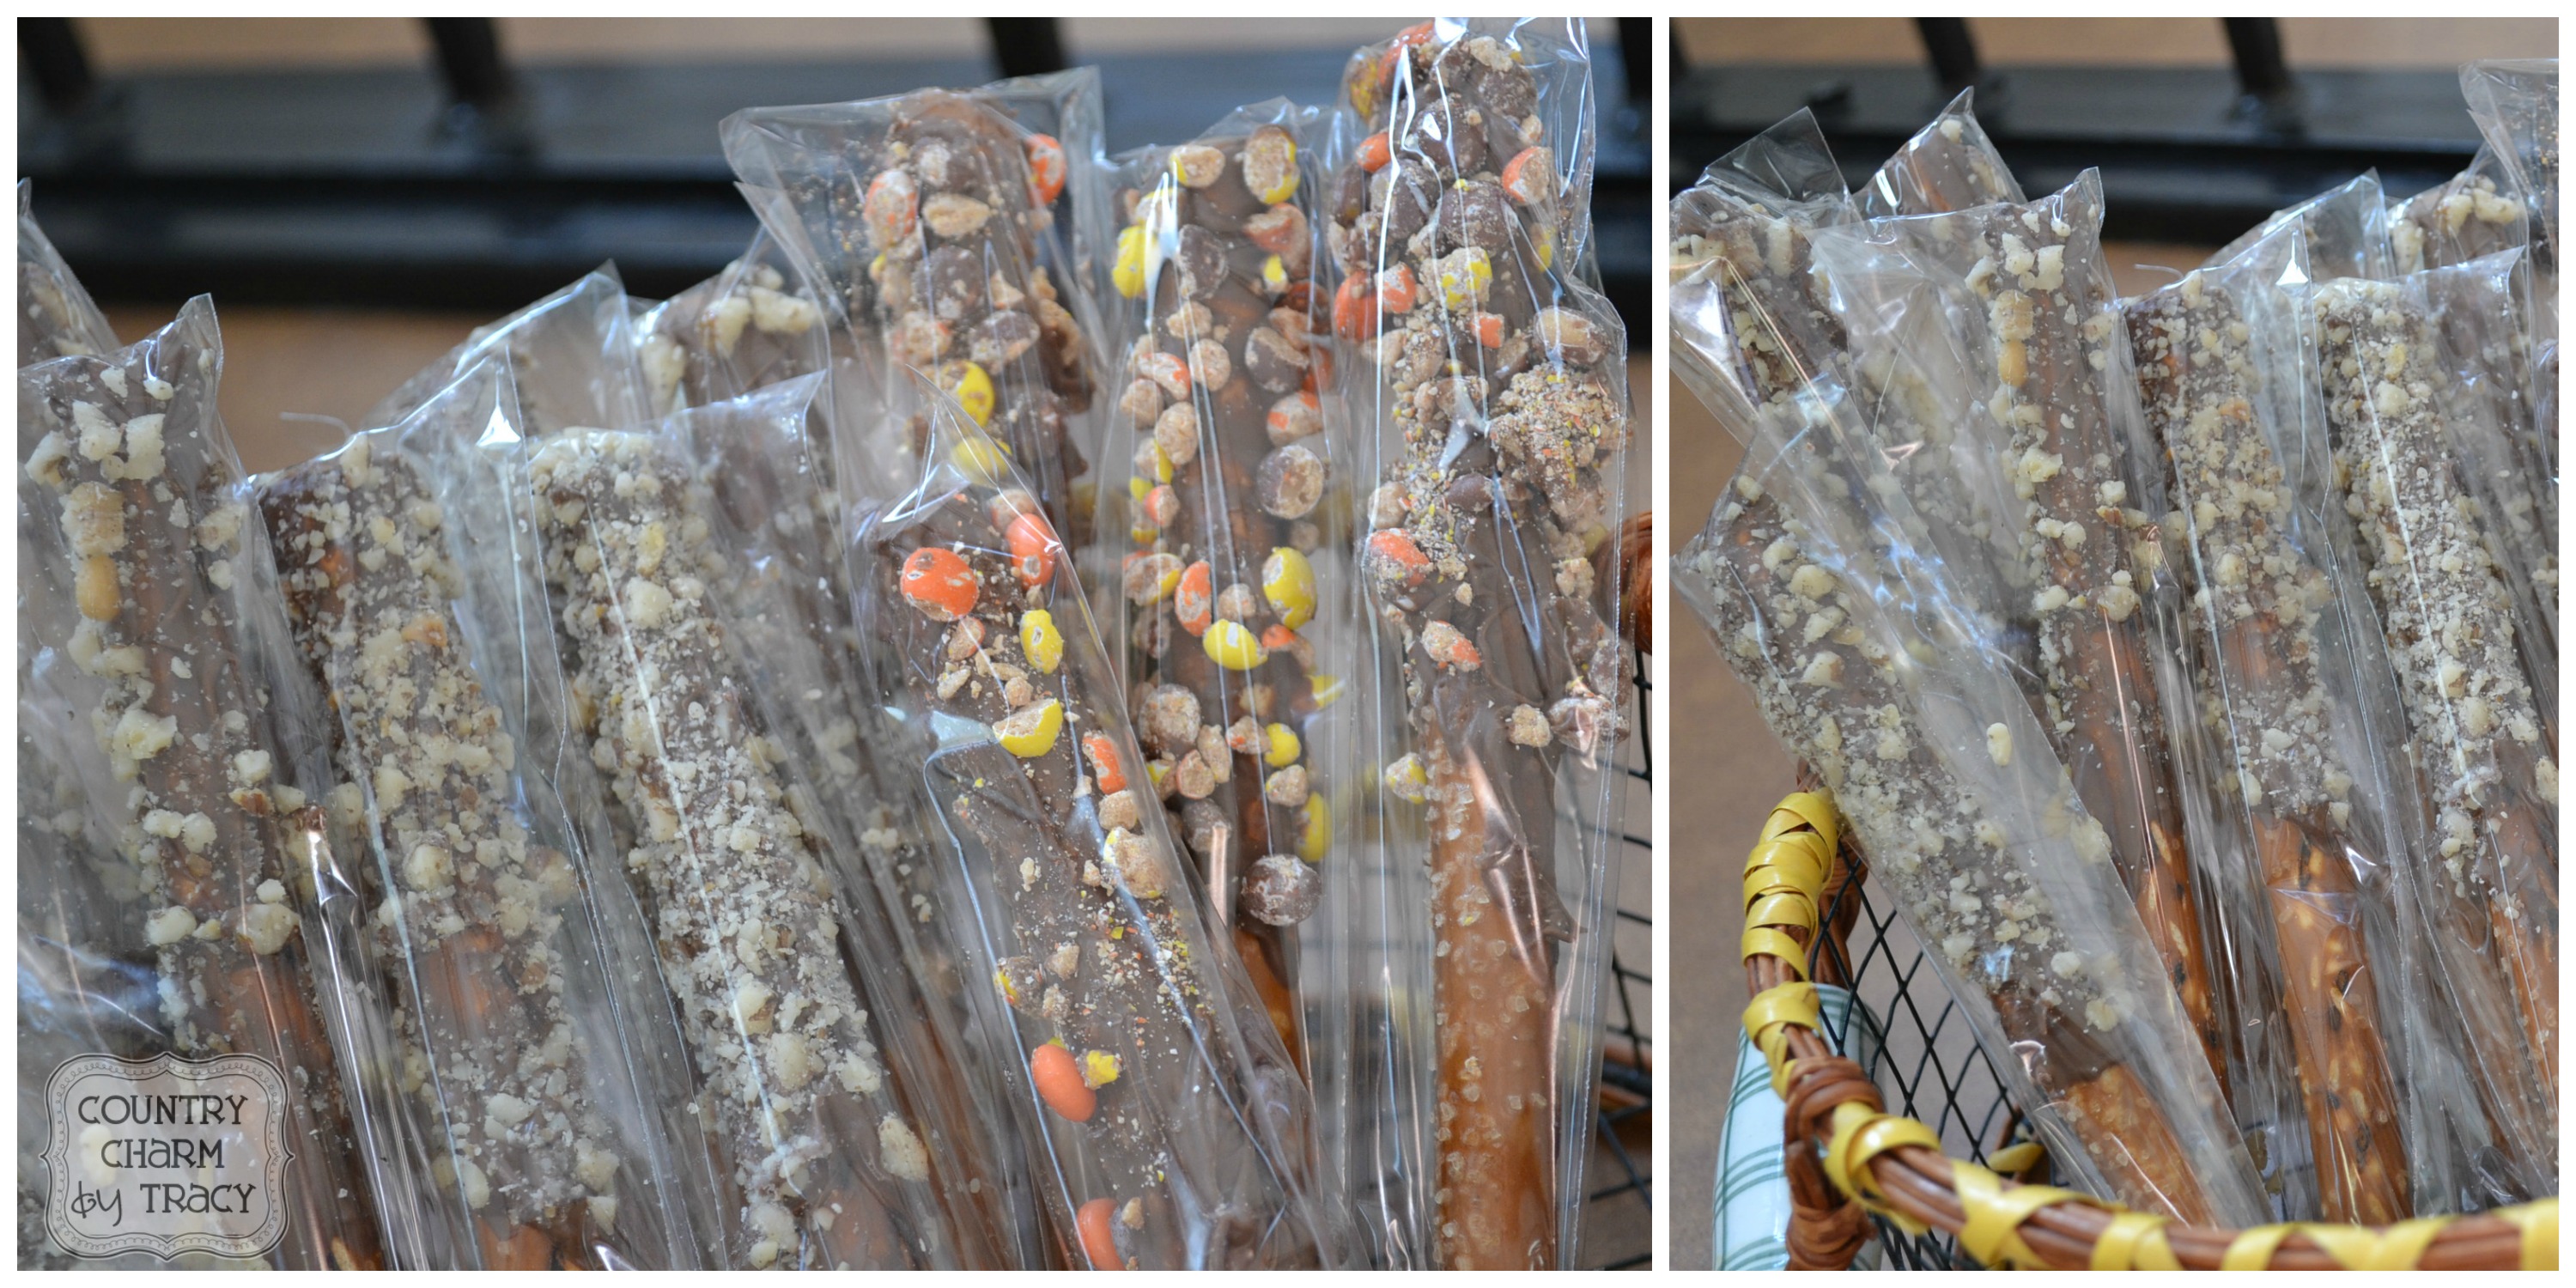
Pretzel Rods
Next up I created some chocolate covered pretzels. These were pretty simple to do but a little time consuming. I chopped up the walnuts a little finer by running those through my mini food chopper.

- - pretzel rods
- - candy candy wafers {see here what i used for these}
- - walnuts
- - Reese's Pieces Minis
- - pretzel rod bags (found at in the cake decorating section)
- To crumble up the walnuts finer I ran them through my mini chopper. To break up the reese's pieces I placed a handful in a zip lock bag and crushed them with my mallet.
- melt chocolate according to package directions.
- working quickly I held the pretzel rod in one hand and took a knife or spreader and smoothed on the chocolate with my other hand. It did not work well for me to dip them into the chocolate. I was able to work faster with spreading on the chocolate myself. Working with two paper plates I sprinkled on the walnuts to some rods and mini reese's pieces on the others. I worked off of two plates because I was able to shake toppings onto one and using the other plate to catch the excess while sprinkling on the toppings. This helps with mess and also to catch those toppings that fall while sprinkling.
- to dry I would stand the rods up in a glass and place in the freezer for about 10 minutes to harden and set.


Make sure and follow me on YouTube, Facebook, Instagram and Pinterest for more Crafty Ideas!!